Introduction
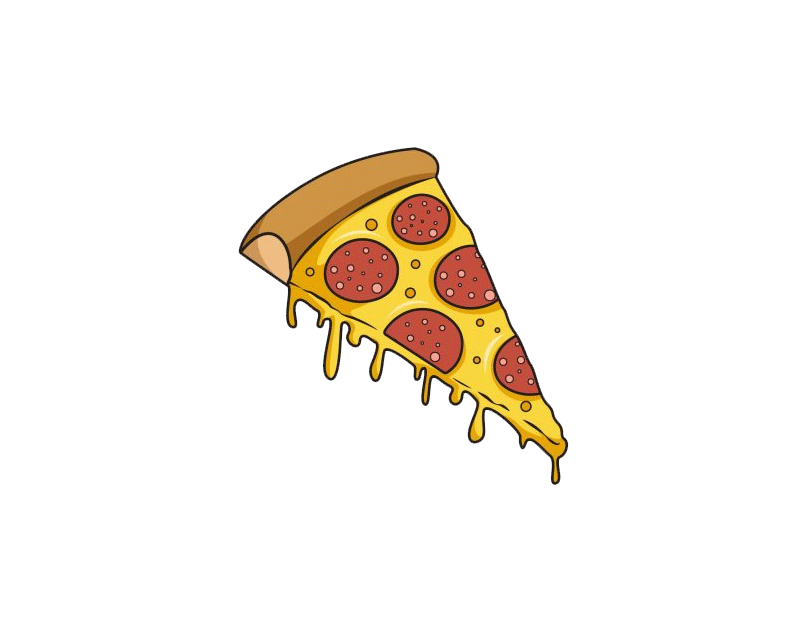
Whether it’s morning meal, lunch, or supper, it’s generally a great opportunity to eat pizza. Much more so in the event that the pizza has bunches of garnishes matched with overflowing liquefied cheddar — so delectable! With its impeccably heated covering and bountiful topping in different tones, pizza looks as tempting as it tastes.
Note: After learning this tutorial visit more Cartoon Fish Drawing.
This is likewise why pizza is one of the normal food varieties to draw. Luckily, this bit by bit instructional exercise on the most proficient method to draw a pizza can assist you with drawing one easily. This guide comprises of definite, yet short, directions, all of which accompany elaborate visual representations. With this complete instructional exercise, you may be shocked to find how simple drawing a pizza really is!
Stage 1 – pizza drawing
Beginning the upper left piece of your paper, define two equal bended boundaries framing the pizza outside layer. Then, at that point, define one more two bended boundaries on the two closures of the outside. Remember to add a corner to corner line at the lower part of the bended line to make a three-layered impact.
Stage 2 – Make a Framework of the Pizza
To finish the state of the pizza, draw a sideways triangle shape associated with the hull. The top side of the triangle shape ought to be a marginally uneven corner to corner line while its base part ought to have a trickle impact. Drawing a dribble impact is straightforward and simple! Essentially draw numerous next to each other drops trickling from a similar surface level. Try to attract the dribbling beads different sizes, as displayed in the delineation above, to accomplish the ideal trickle impact!
Stage 3 – Next, Add Subtleties on the Pizza Cut
Define isolates boundaries right over the dribble impact to amplify the layout of the pizza. Try not to push down excessively hard with your pencil while defining these boundaries to keep them light and not brutal.
You can definitely relax on the off chance that the lines are not straight or on the other hand assuming they look somewhat rough. Truly, lopsided light strokes are liked to make your pizza look practical.
Stage 4 – Presently, Add the Pepperoni on Top
A cut of pizza wouldn’t be finished without pepperoni fixings on top, so that is the very thing that we will draw on this step. Draw a circle shape laid level on a superficial level at the highest point of the pizza, framing the state of a solitary pepperoni. Then, at that point, attract more modest circles inside to make a practical looking pepperoni!
Stage 5 – Draw the Second Pepperoni Fixings
How about we add more pepperonis on your pizza to make it seriously mouth-watering! Draw a crescent shape on the edge of the pizza cut. Subsequently, draw minuscule circles inside the pepperoni, as displayed in the representation.
Stage 6 – Subsequently, Add the Third Pepperoni
Two pepperonis on one cut of pizza is without a doubt sufficiently not, so we should feel free to add our third pepperoni. Keep in mind, on the off chance that you are adding the pepperoni inside sufficient room, draw a round trip. Then again, on the off chance that you’re adding one close to the edge, it ought to be a half circle. Likewise, ensure that there are in the middle of between the pepperonis to make your fixings look equally circulated.
Stage 7 – Then, Add the Fourth Pepperoni on Top
Continue to rehash the past step until you’re happy with how much garnishes that is on your pizza. Remember to add fixings past the brink of the pizza as well!
Stage 8 – Add as Much Garnish as You Need
As you can find in the representation, we kept our pizza straightforward. We just have a lot of pepperonis and dissolved cheddar on top of our pizza. Go ahead and modify the garnishes and add anything that fixings you like on your pizza! On the off chance that you like a few onions, chime peppers, or maybe some more meat, go for it!
Note: Visit the Early Childhood Education.
Stage 9 – Presently, Add Subtleties on the Softened Cheddar
Cheddar normally has bubbles, so ensure you add some to the dissolved cheddar on top of your pizza! Just draw minuscule circle shapes in different sizes all around the outer layer of your cheddar. Make a point to make a ton of air pockets to add surface, not too much.
Since we have effectively drawn a heavenly cut of pizza, it’s the ideal opportunity for the most thrilling part, which is handpicking the tones and shading your drawing! The pizza’s outside is commonly cream or brown in variety, contingent upon how all around cooked you favor your pizza to be. The cheddar, then again, is typically dynamic yellow while the pepperonis are light red with pinkish subtleties. You can pick to variety you attracting like how we’ve done our own or utilize an extraordinary arrangement of varieties.
Also, Read Spenborough to day